 (Image source: Midjourney)
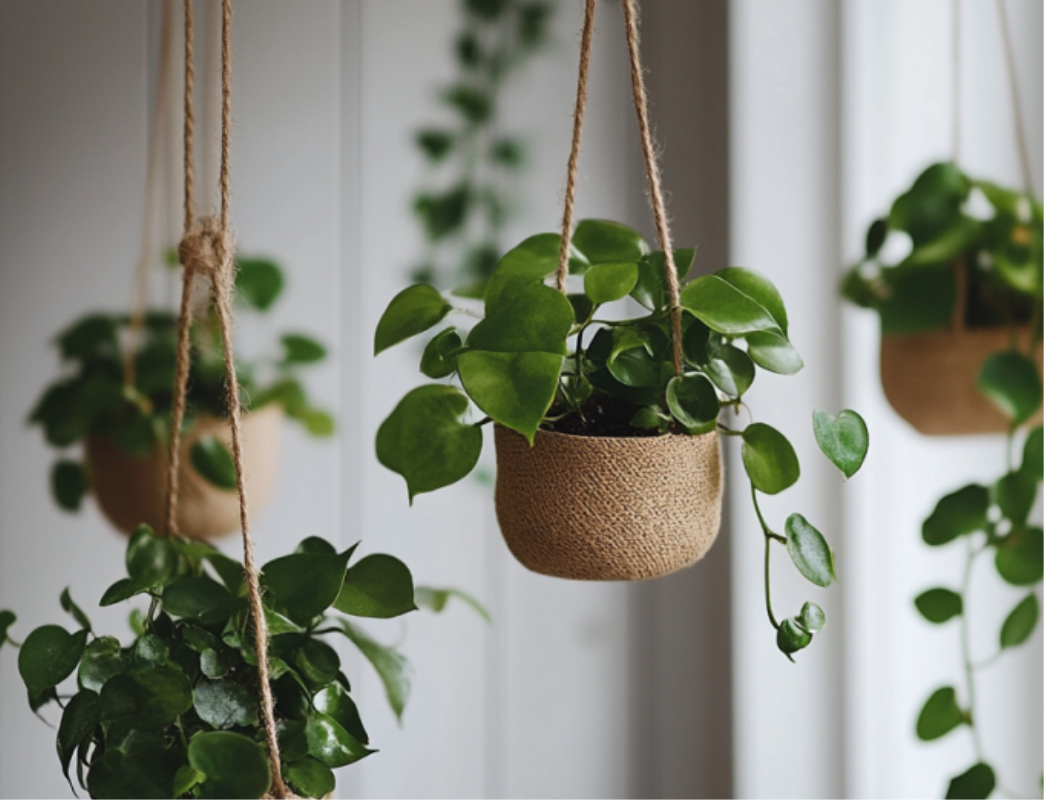
 Adding greenery to your home is a surefire way to make it feel fresh, vibrant, and alive. But let's face it, not everyone has the floor space or the perfect windowsill to showcase their plant collection. That’s where DIY plant hangers come in! These creative, easy-to-make additions are a fantastic way to elevate your plants (literally) while adding charm and personality to any room.
You can make plant hangers in so many different styles, whether you’re into boho, modern, rustic, or eclectic aesthetics. Here’s a guide to crafting your own DIY plant hangers that are as fun to make as they are to display!
1. Macramé Plant Hangers
Macramé plant hangers are timeless and effortlessly stylish. With a few knots and some simple supplies, you can create a boho-chic display that’s perfect for any room in your home.
What You’ll Need:
- Cotton or jute cord (about 100-150 feet depending on the size)
- A metal or wooden ring
- Scissors
- Measuring tape
- A potted plant
Instructions:
- Cut Your Cord: Cut four equal lengths of cord, each about four times the desired length of your finished hanger.
- Attach to the Ring: Fold all four cords in half, then loop them through your ring to create eight strands. Secure with a knot at the top, leaving a tail to hang it later.
- Start Knotting: Begin by tying square knots or spiral knots in clusters. Continue tying knots about every 6-8 inches to create a net-like structure.
- Create the Basket: When you’re about 10 inches from the bottom, group the strands into pairs and tie one large knot to form the base. This will hold your pot securely.
- Finish and Style: Trim the loose ends to create a fringe, or leave them long for a relaxed look. Add your potted plant and hang your macramé masterpiece!
Styling Idea: Hang macramé hangers in a cluster at different lengths for an eye-catching focal point over a seating area or even in a bathroom.
2. Recycled T-Shirt Plant Hangers
Upcycling is a sustainable and creative way to decorate your home. Turn an old T-shirt into a quirky and lightweight plant hanger in no time!
What You’ll Need:
- An old T-shirt (or fabric strips)
- Scissors
- A small potted plant
Instructions:
- Cut Strips: Cut the T-shirt into long strips, about 1-2 inches wide. You’ll need at least eight strips.
- Tie the Base: Gather all the strips together and tie them into a large knot about 3 inches from one end.
- Divide and Knot Again: Separate the strips into groups of two and tie knots about 6 inches above the base knot.
- Create a Net Effect: Keep grouping different strips together and tying knots higher up until you’ve created a net-like cradle for your pot.
- Tie the Top: Gather all the loose ends above the cradle and tie them into a large knot for hanging.
Pro Tip: Use colorful T-shirts for a vibrant, playful look or neutral tones for a more understated vibe.
3. Wooden Plant Hanging Shelf
For a modern, minimalist approach, a wooden plant hanging shelf is a great way to display multiple plants. Plus, it’s sturdier than fabric hangers, making it perfect for larger pots or multiple planters.
What You’ll Need:
- A wooden board (about 1-2 inches thick)
- Rope or twine
- Drill
- Sandpaper
- Measuring tape
- Potted plants
Instructions:
- Prep the Wood: Sand down the edges and surface of your wooden board to smooth out any rough areas.
- Drill Holes: Drill four evenly spaced holes near the corners of the board. Ensure the holes are large enough for your rope to pass through.
- String the Rope: Cut two lengths of rope and feed them through the holes to create loops on both sides. Adjust the rope lengths to make the shelf hang evenly.
- Secure Knots: Tie knots underneath the board to hold it in place, then tie the ends of the ropes together at the top for hanging.
- Style It: Place small pots, succulents, or even decorative items like candles on your wooden shelf.
Styling Idea: Stain the wood in a natural oak or walnut finish for a sleek look, or paint it in bright colors to add a pop of fun to your space!
4. Upcycled Mason Jar Plant Hangers
Mason jars aren’t just for preserving jam. Upcycle them into stylish and functional plant hangers, perfect for a touch of farmhouse charm.
What You’ll Need:
- Mason jars (or similar jars)
- Twine or wire
- Hooks for hanging
- Small plants or herbs
Instructions:
- Wrap the Jar: Wrap the twine or wire securely around the mouth of the jar to create a loop for hanging. For added stability, wrap the twine around several times before knotting it tightly.
- Add Plants: Fill the jar with small plants, such as ferns, succulents, or herbs. You can also use pebbles at the bottom for drainage and aesthetics.
- Hang with Hooks: Use S-hooks or nails to hang your jars from a wall, window frame, or even a wooden beam.
Pro Tip: Hang several jars at different heights to create a vertical garden effect.
5. Leather Strap Plant Hanger
For a clean and sophisticated look, use leather straps to create an elegant plant hanger. This design is easy to make and works great with modern decor.
What You’ll Need:
- Leather straps (available at craft stores)
- Rivets or heavy-duty glue
- A staple gun (optional)
- A sturdy potted plant
Instructions:
- Measure and Cut: Cut two long strips of leather to wrap around your pot both vertically and horizontally, forming a cross pattern.
- Attach the Straps: Use rivets or glue to secure the straps where they intersect beneath the pot. You can also staple the leather together for extra hold if needed.
- Create a Loop for Hanging: Add a short leather strip to the top to form a loop for hanging. Make sure it’s strong enough to hold the weight of the plant.
- Hang It Up: Use a hook or nail to hang your leather plant hanger in its new home.
Styling Idea: Pair this design with mid-century modern planters for a polished, trendy vibe.