 (Image source: Midjourney)
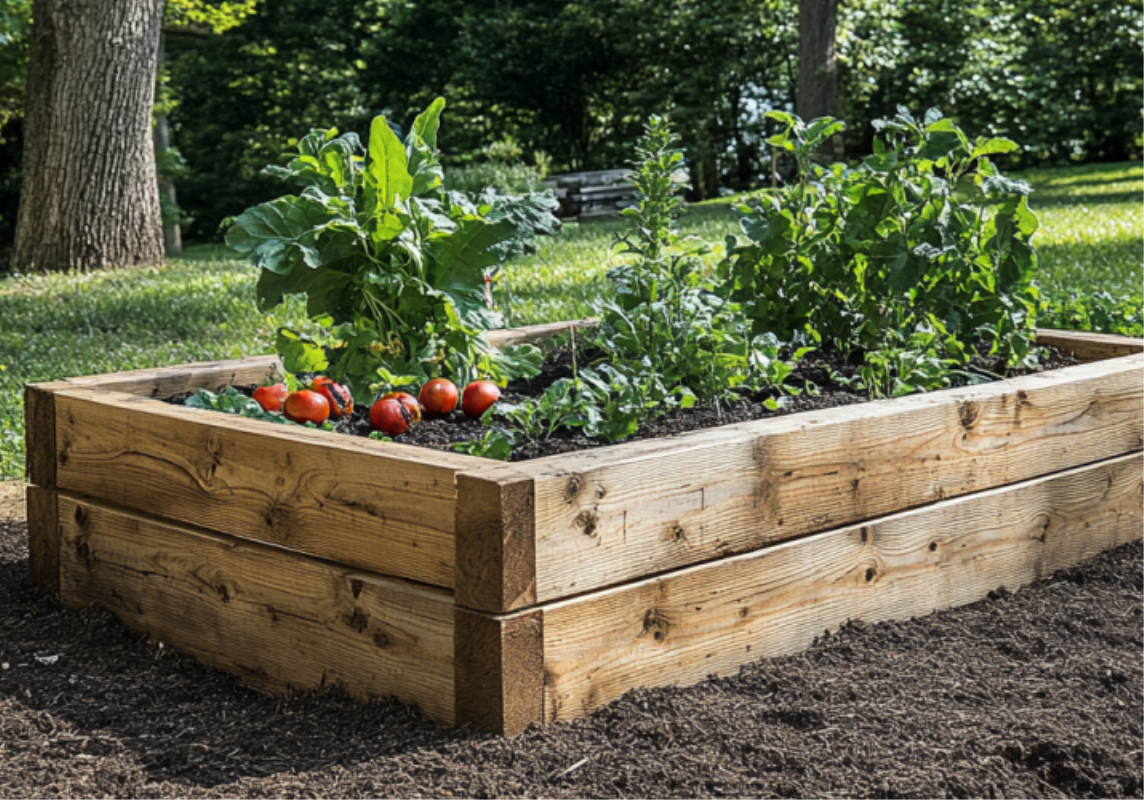
 If you’ve been dreaming about growing your own vegetables, herbs, or flowers, a raised garden bed is the perfect project to get you started. Not only does it make gardening more accessible, but it also gives you more control over your soil, drainage, and pests. Plus, it looks great in your yard or patio, and you don’t need to be a DIY expert to build one!
This easy, step-by-step guide will walk you through the process of creating your very own raised garden bed. Whether you’re a beginner or simply want a refresher, we’ve got you covered.
Step 1: Choose the Right Location
The first step in setting up your raised garden bed is picking a location. Not all spots in your yard will be equally fit for growing plants, so keep these factors in mind:
- Sunlight: Most vegetables and flowers need at least 6-8 hours of sunlight daily. Aim for a spot in your yard that isn’t overshadowed by trees or buildings.
- Drainage: Avoid areas prone to water pooling, as too much moisture can damage roots.
- Convenience: Place your bed somewhere accessible. You’ll be watering, weeding, and harvesting, so make sure it’s easy to reach.
Tip: If you’re tight on backyard space, you can even use this guide to build a smaller bed on your patio!
Step 2: Gather Your Materials
To build your raised garden bed, you’ll need a few key materials and tools. Thankfully, most of these are easy to find at your local hardware store or online.
Materials:
- Lumber (untreated wood like cedar or pine works great)
- Wood screws or galvanized nails
- A weed barrier or landscape fabric
- Soil (a mix of topsoil, compost, and organic matter is ideal)
Tools:
- Tape measure
- Saw (if your wood isn’t pre-cut)
- Drill or hammer
- Level
- Shovel
Quick Note: Opt for untreated wood to avoid harmful chemicals leaching into the soil. Cedar is a fantastic choice because it’s naturally resistant to rot and can stand up to the elements.
Step 3: Decide on Size and Cut Wood
Now that you have your materials, it’s time to decide how big your raised garden bed will be. The size you choose depends on the space you have and what you want to grow.
- A common size is 4 feet by 8 feet, as this offers plenty of space for plants but keeps the width manageable for easy access.
- The height can range from 12 to 24 inches, depending on how deep you want the soil to be. Deeper beds are great for root vegetables like carrots and potatoes.
Instructions:
- Measure and mark your wood for the desired dimensions.
- Cut the lumber to size using a saw. If you’re not confident cutting wood at home, many hardware stores will do it for you!
Step 4: Assemble the Frame
Here’s where your garden bed starts to take shape!
Instructions:
- Lay out the wooden boards on the ground to form a rectangle (or square, if that’s your shape of choice).
- Attach the boards at the corners using screws or nails. Use two to three screws per corner to keep the structure sturdy.
- Check that the bed is level as you assemble it. An uneven frame can lead to soil and water pooling in one area.
Pro Tip: If you want to go beyond the basics, you can add corner brackets for extra support or stain your wood to give it a polished look.
Step 5: Prep the Ground
Before you position your garden bed frame, make sure to prep the ground underneath.
- Clear the Area: Remove grass, weeds, or debris where the bed will be placed. This gives your plants a clean slate to thrive.
- Add a Weed Barrier: Lay down landscape fabric or cardboard in the cleared area. This prevents weeds from creeping into your raised bed while still allowing water to drain.
Quick Hack: For better drainage, loosen the soil underneath the barrier using a garden fork. This will help your plant roots grow deeper and healthier.
Step 6: Position and Secure Your Bed
Once the ground is ready, place your wooden frame in the designated spot. Adjust it until it’s level and stable. You can secure your bed to the ground by hammering wooden stakes into each corner, then screwing them into the inside of the frame.
This step is optional but helpful, especially if your area is windy or your bed is in a high-traffic zone.
Step 7: Fill with Soil
Your raised bed is now ready for the good stuff!
- Layer the Soil: Start by adding coarse organic matter like sticks, leaves, or straw to the bottom of the bed. This creates better drainage and reduces the amount of soil you’ll need.
- Add Soil Mix: Fill the rest of the bed with a high-quality soil mix. A good ratio is 60% topsoil, 30% compost, and 10% organic material like peat moss or worm castings.
Pro Tip: Lightly water the soil as you add it to help it settle evenly and remove air pockets.
Step 8: Plan and Plant
Before digging in, plan out what you’ll grow in your raised garden bed. Different plants have different spacing needs, so arranging them carefully will maximize your harvest.
- Companion Planting: Consider grouping plants that thrive together. For example, tomatoes and basil are great companions!
- Plant in Rows or Clusters: Keep taller plants like tomatoes or corn in the back so they don’t shade smaller plants like lettuce.
Once you’ve got your layout planned, gently plant your seeds or seedlings according to their recommended depth and spacing.
Step 9: Maintain Your New Garden
Congratulations! You’ve built your raised garden bed, and your plants are ready to flourish. To keep everything healthy and thriving, follow these simple maintenance tips:
- Water Regularly: Keep the soil moist but not waterlogged. Raised beds tend to drain faster, so frequent watering may be needed, especially in hot weather.
- Fertilize: Use organic fertilizers like compost or fish emulsion every few weeks to give your plants a nutrient boost.
- Weed Early: Any sneaky weeds that appear should be pulled before they take over. Thanks to the weed barrier and raised height, you’ll notice far fewer weeds than with traditional gardens.
Building a raised garden bed is a rewarding DIY project that pays off in fresh produce, stunning flowers, and endless gardening joy. With just a weekend’s work and a bit of creativity, you can create a beautiful and practical addition to your outdoor space.